But I couldn't ignore the calling any more and my biological clock was ticking. So I took the plunge and asked veggie daddy what he thought of the concept of a third. He nearly drowned with laughter (we where swimming at the time) but rather quickly and without persuasion said.... yes!
We went through the pros and cons of having a third child, asked for advice, and really gave it plenty of thought (and even some lost sleep). In the end it was gut instinct, would we regret not having a third, yes. Looking back was it the best decision to make, absolutely yes!
Our cherub Parker has just turned one and he's a little champ. He completes our family, gives us balance and brings us unconditional love every day.

So anyone else deciding whether or not to have one more. While everyone is different, if you're thinking about it, do it. You won't regret it.
On the flip side I don't have a great deal of time to share posts these days. Plenty of delicious food being created and enjoyed, a few photos taken, but the creations just don't get written down.
So here's one I made tonight. Not too sweet and a nice size for family treat.
 |
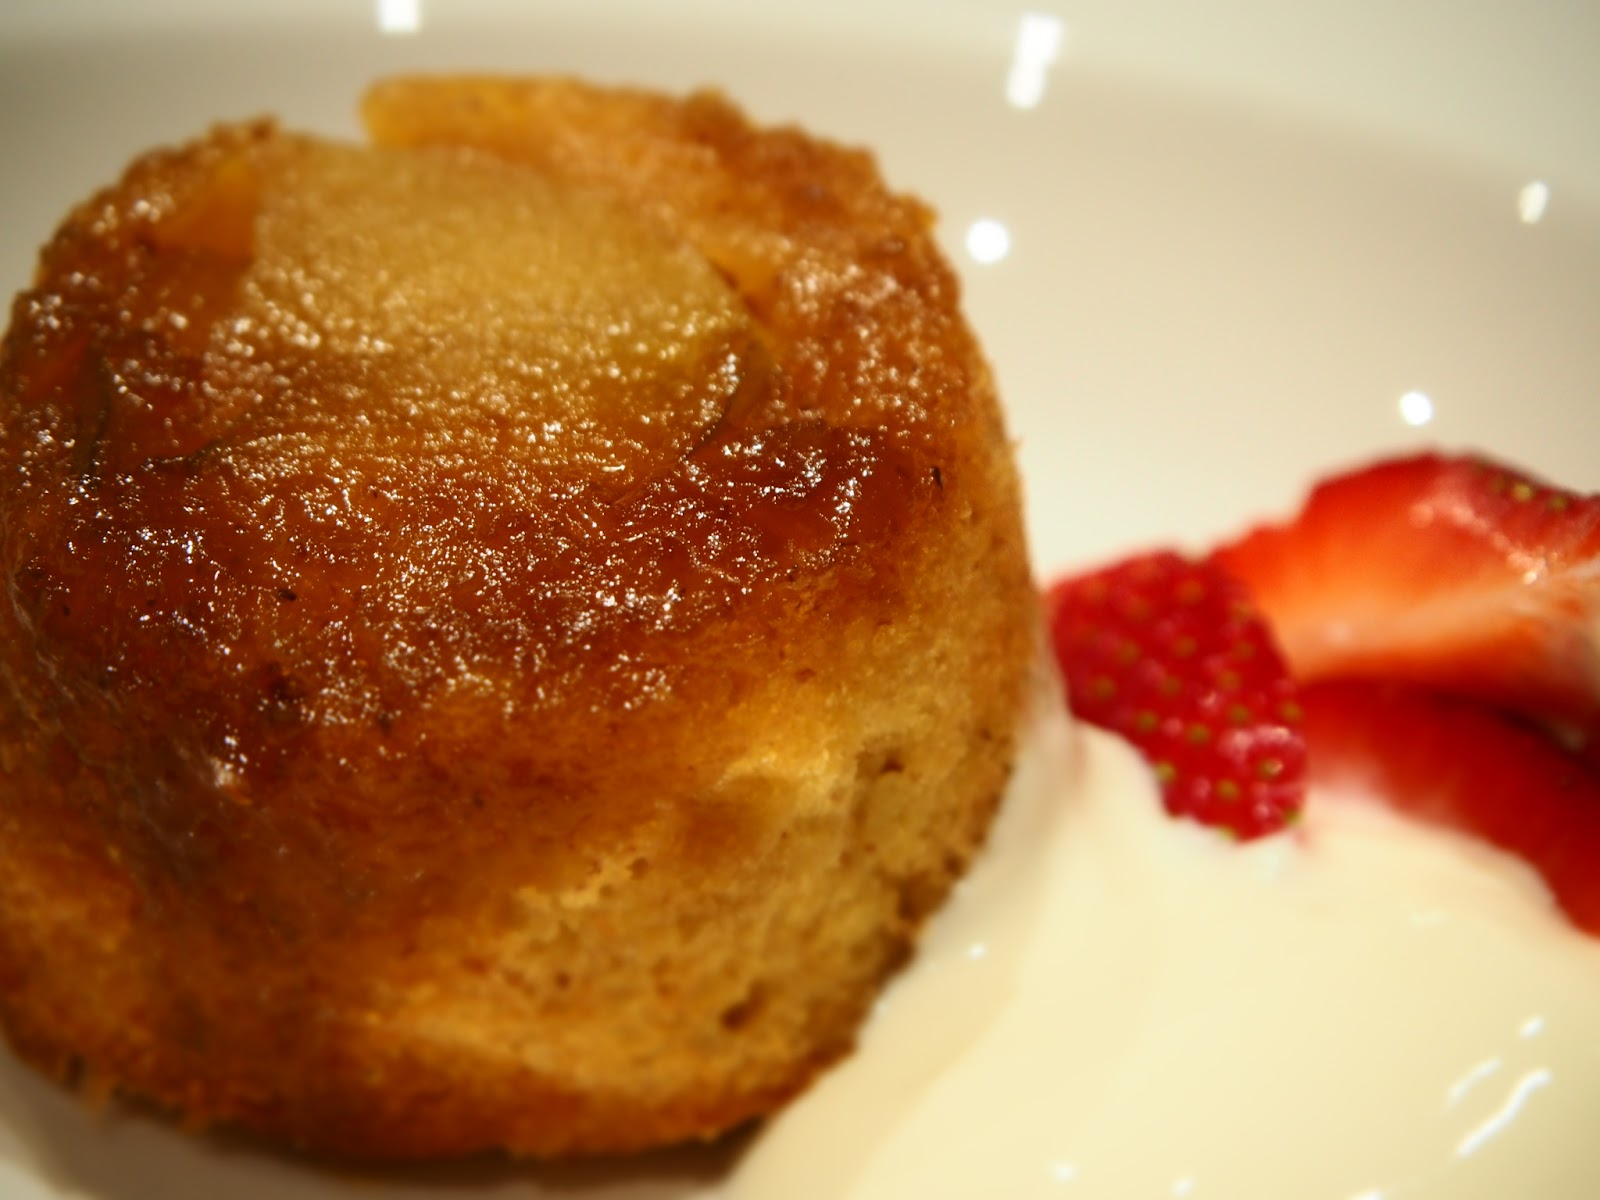
| Warm apple and almond puddings |
Warm apple and almond puddings
50g raw almonds
50g raw sugar
120g butter cubed
2 apples (granny smith or pink lady work well)
2 free range eggs
1 MC of milk
130g SR flour
1/2 tsp cinnamon
approx 1/4 cup golden syrup (or maple or rice malt syrup)
- Preheat oven to 180
- Grease pudding tins or use 12 silicon cupcake moulds
- Peel apple and thinly slice 1 half, roughly chopping remainder
- Place 1 tsp to 1 tbls of syrup into each mold followed by a slice of apple
- Place almonds in Thermomix bowl and grind for 5 seconds on speed 8
- Add butter and sugar and cream for 10 seconds on speed 6
- Add the 1 and half roughly chopped apples and chop for 5 seconds on speed 6
- Scrap down if needed, add eggs, milk, flour and cinnamon and mix for 10 seconds on speed 5
- Spoon mixture into moulds and bake for around 20 minutes or until golden
- Invert to onto plates and serve warm with thick yoghurt or cream
- Enjoy!
 |
| Warm apple and almond puddings straight from the oven |


